July 3, 2024
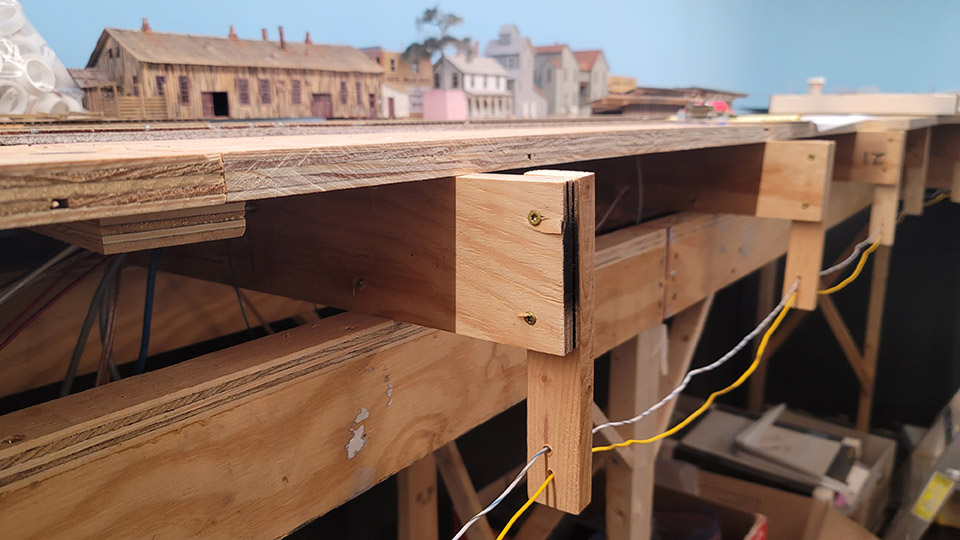
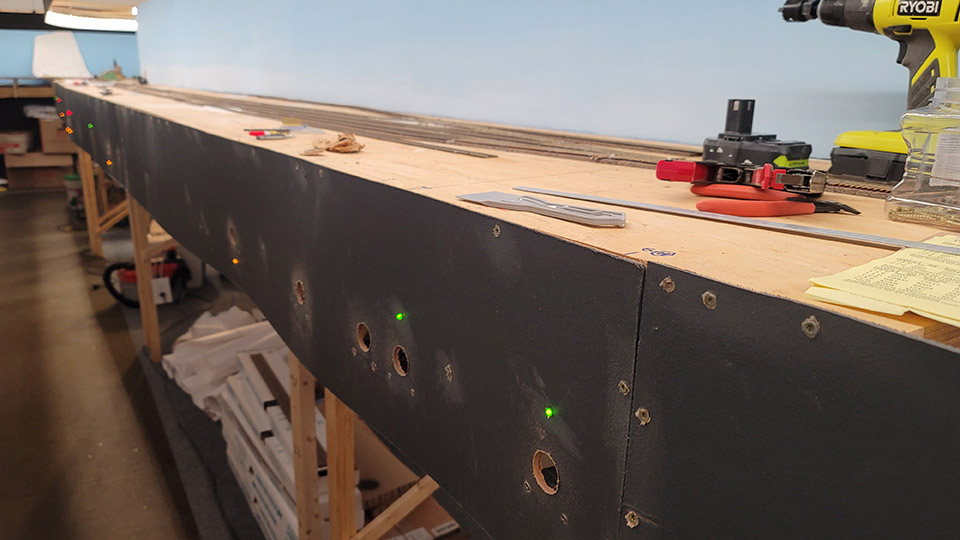
Vertical 1×2″ strips were glued and screwed to each joist to support the fascia. Mine are shorter at 7″ because I planned on having an 8″ deep fascia. It was decided to use a 12″ fascia to put the hole for operating the slide switch at a bent arm level and leave enough room underneath for an amber LED crossover warning. It would have offered more support if the verticals were 11″ long.
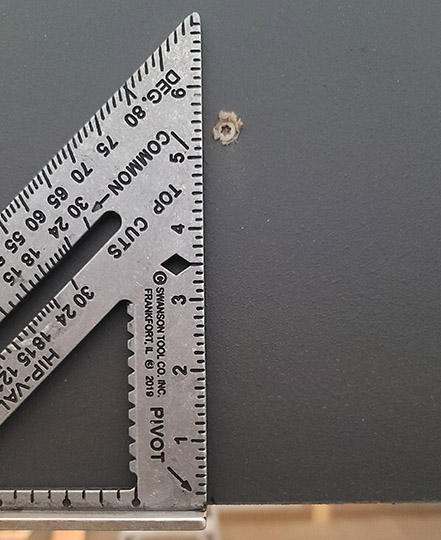
A square was placed underneath the fascia and fun along until it hit the vertical support. A mark placed on the outside indicated where the support was and a screw placed 1/4″ away went into the support. This eliminates guessing where the screw should go. Fresh 1×2’s work best, when they dry out, they sometimes crack. All were put in at once so now some are dry. 1 1/4″ self-tapping star drive screws are used. These are also used every 18″ or so to screw top edge into 3/4″ plywood base.
The fascia was painted outside in 100 degree weather and carried inside to install. It looked great at first, but the next morning had bowed out between each screw and looked terrible. Each section had to be loosened and the expanded fascia readjusted toward the end. Who would have guessed that hot hardboard would expand when it cooled!
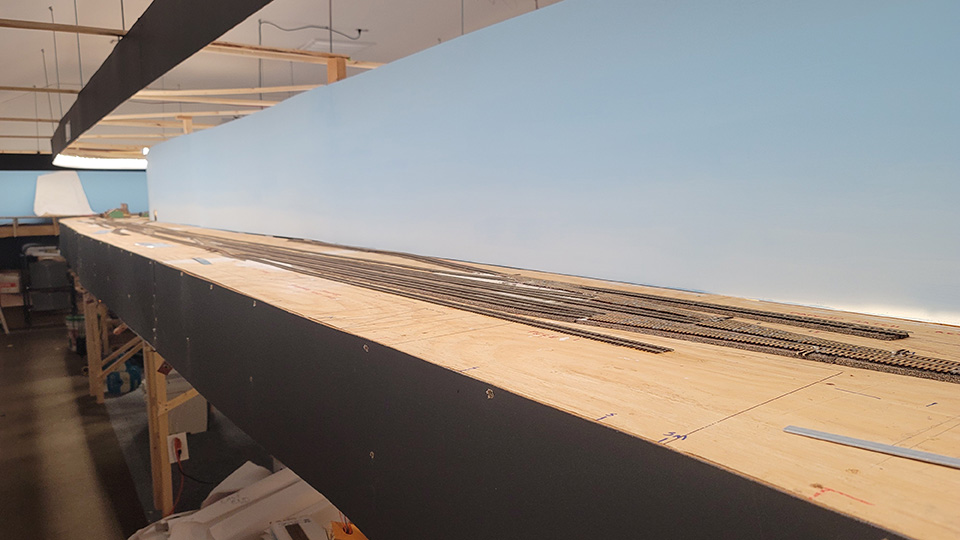
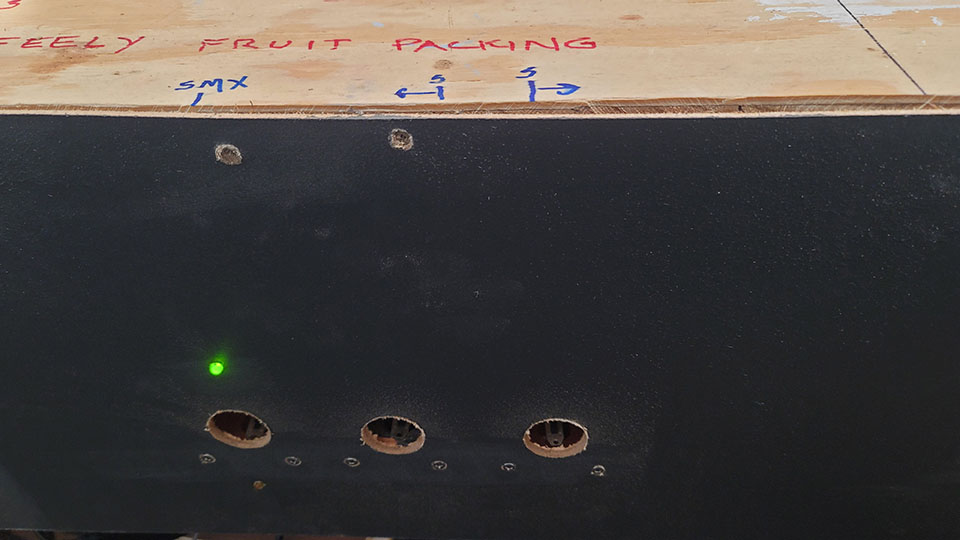
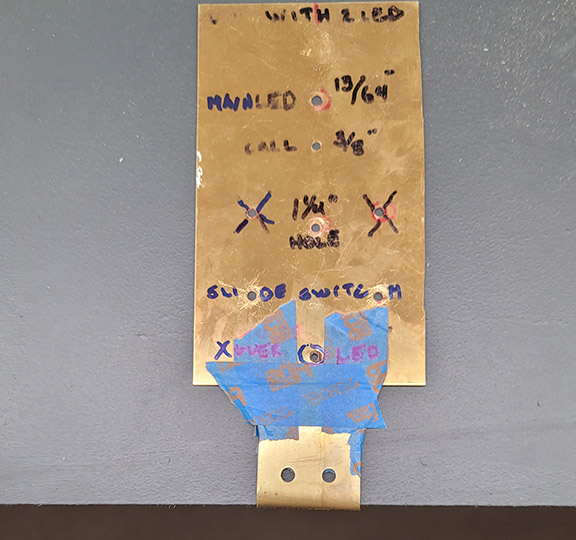
Marks on the plywood base indicated where holes need to be drilled for LED’s (S for switch, X for crossing, M for main), finger, and screws holding wooden slide switch block using a brass jig – an old jig was taped on the bottom to get the needed height. Now ready to cover screws with sheetrock mud.